
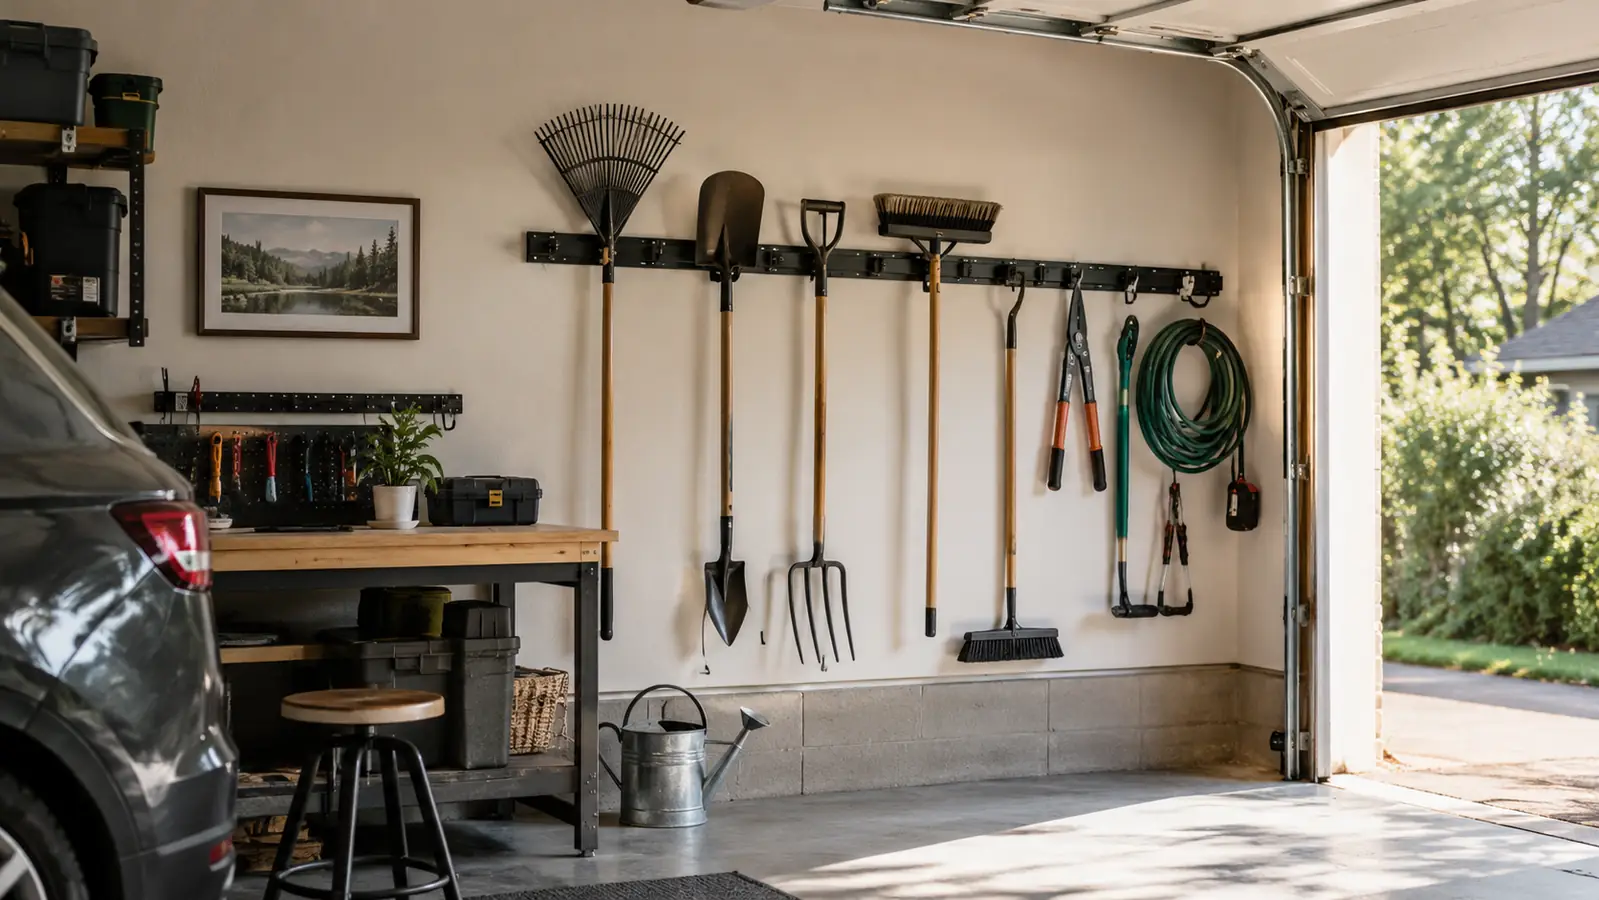
The rake handle that put me in the urgent care clinic was leaning against the garage wall like it had always been there. I had stepped over it a hundred times. The hundred and first time, I caught the handle with my boot, went down hard on the concrete, and sprained my wrist so badly I could not grip a screwdriver for three weeks. Carol still brings it up every time she sees me carrying a rake. That was the day I decided every long-handled tool in my garage was getting off the floor for good. Not the shelf, not the corner. The floor. Everything that could trip me got a hook or a hanger.
I looked at pegboard first. I looked at shelves. I even looked at one of those freestanding racks that holds rakes by the handle, the kind you roll into a corner. What I kept coming back to was the wall itself. A two-car garage has maybe 400 square feet of floor, but it has a lot of unused wall, and the wall above my workbench was doing nothing except collecting dust. That is where the Rubbermaid FastTrack Rail Kit came in. It is a simple idea: aluminum rails screwed into the studs, hooks that snap onto the rails, and whatever you hang sits flat against the wall instead of taking up floor space. No leaning, no tripping, no piles. I have had mine up for over a year now, and it is still the first thing I point to when someone asks about the garage.
Start with the rail kit that clears a wall in one afternoon
The Rubbermaid FastTrack All-in-One Rail & Hook Kit comes with two rails and a selection of hooks, enough to get a corner of the garage organized in a single afternoon. Check today's price on Amazon and see exactly what is in the box.
Amazon Check Today's Price on Amazon →Step 1: Take everything off the floor and sort it into piles
Before you buy anything or drill anything, empty the corner of the garage you plan to work on. I pulled out every rake, shovel, hoe, broom, and leaf blower, plus a tangle of extension cords and a coil of rope that had been sitting on the floor since spring. Everything went into three piles: keep on the wall, keep somewhere else, and get rid of. The sorting took about an hour, and it was the most useful hour of the whole project. You cannot organize a wall until you know what is supposed to live on it.
The keep pile was bigger than I expected. I counted 14 long-handled tools and 6 short ones, and that did not include the cords. The get-rid pile had a rake with a cracked head and a shovel handle that had split right down the middle. If it is broken, or if you have not touched it in two years, do not hang it. You are not organizing, you are just decorating the wall with clutter. I took the broken stuff out to the shed and dealt with it later that week.
This is also the moment to decide what belongs in the shed. I keep the lawn mower and the gas cans in the shed, and I keep the tools I use weekly in the garage. The Rubbermaid FastTrack rails went on the garage wall because that is where I do the daily work. The shed got a couple of simple hooks for the overflow. The point is to hang the tools you actually reach for, not to build a museum of everything you own. If you try to hang it all, you will run out of rail and still have a pile on the floor.
Step 2: Find the studs and mark your layout
The Rubbermaid FastTrack rails need to go into studs. Drywall anchors will hold a light load for a while, but a wall full of rakes and shovels is heavy, and the last thing you want is a rail pulling out of the wall at 6 in the morning when you are grabbing a shovel. I used a stud finder, the same one I have had for twenty years, and marked every stud with a pencil line. If you do not own a stud finder, you can knock on the wall and listen for the solid spots, but the finder is easier and it is cheap.
My garage wall is framed on 16-inch centers, which is standard for most houses. The kit comes with two 4-foot rails, so I laid them out end to end to make one 8-foot run above the workbench. I held each rail in place, checked it with a 4-foot level, and marked the screw holes through the rail with a pencil. Measure twice here. A crooked rail makes every hook look wrong, and you will see it every single time you walk into the garage. It is the kind of mistake that is easier to fix on paper than on the wall.
One thing I got wrong the first time: I mounted the rails too high. I figured high was good because it kept the tools out of the way. But I still had to stretch to lift a shovel off the hook. I took the rails down and remounted them about 6 inches lower. The rule I use now is simple. The hook for your longest tool should sit at about shoulder height, so the handle clears the floor and the head is easy to grab. For me that put the rail at about 54 inches off the floor.
Step 3: Mount the rails
Drill a pilot hole at each mark. I used a 5/32 bit for the screws that came with the kit, but check what is in your box because the hardware changes from time to time. The kit includes screws and anchors. On a stud wall you mostly need the screws. On the one section of my wall where I had no stud, I used the drywall anchors and kept that section for light items like a coiled cord. A pilot hole keeps the screw from wandering and keeps the drywall from cracking.
Run the screws in snug, but do not crank them down until both rails are up. I like to get all the screws started first, then go back and tighten them. The rails are aluminum, so they strip if you force them. Snug is enough. If you overthink this part, you are not alone. I did. The screws are the least glamorous part of the whole job, but they are the part that keeps the wall from falling down. Take your time and use a driver with a clutch setting if you have one.
After the rails were up, I slid a level along the top of both rails one more time. There was a slight dip where the two rails met because the drywall was not perfectly flat. I loosened the screws, slipped a thin shim behind the rail, and tightened it again. Ten minutes of fussing now beats living with a wavy line for ten years. The rails do not have to be perfect, but they do have to be straight, because every hook follows the rail. A shim is just a scrap of cardboard or a thin piece of wood.
Step 4: Lay out the hooks before you hang anything
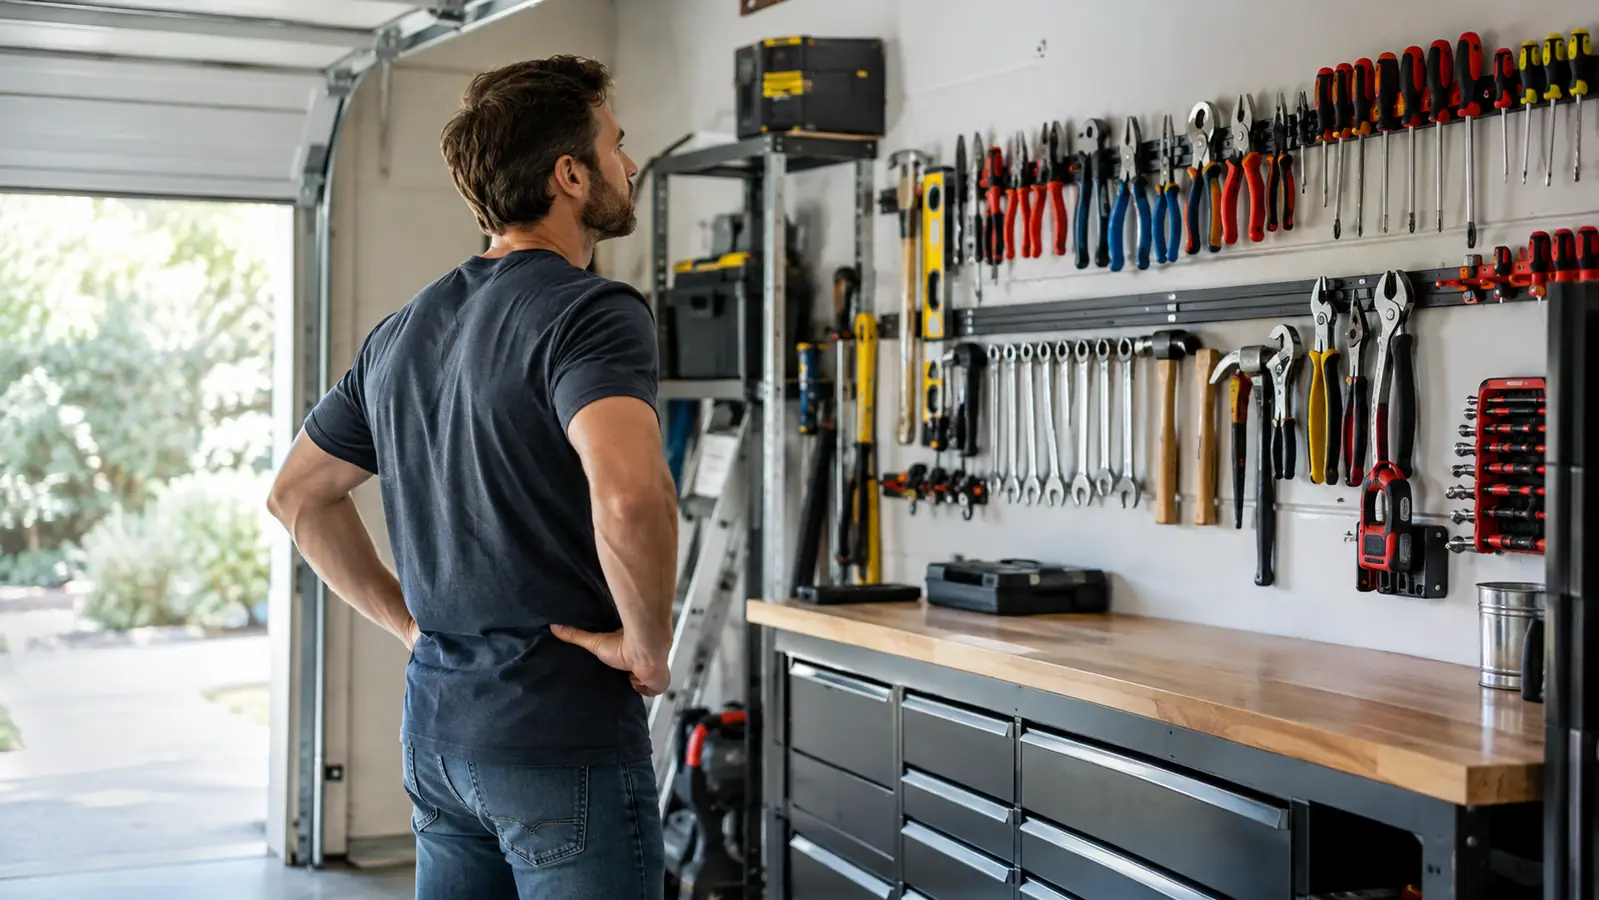
The kit comes with several hook styles: single hooks, double hooks, and hooks that hold a tool by the handle. Before I snapped any of them into the rail, I laid the hooks out on the workbench and matched each one to a tool. A shovel with a D-shaped handle hangs differently from a rake with a straight handle. The hook that works for one will not work for the other, and the only way to know is to hold them together before you commit. This takes about ten minutes and saves you an hour of rearranging later.
I put the tools I use most, the rake and the broom, in the middle of the rail at waist height. The shovel and the hoe went on the ends, where I could grab them without reaching across the rake. The extension cords went on the double hooks, coiled the way they come off the hanger. The leaf blower hung by its strap on a single hook near the outlet. The plan was simple: everyday tools in the easy zone, occasional tools at the edges. The stuff I use once a month went the farthest from the door.
This is the step people skip, and it is the step that makes the difference between a wall that works and a wall that looks like a hardware store threw up. If you snap hooks in one at a time and hang tools as you go, you end up with the rake where the shovel should be and no room for the cord. Match the hooks to the tools first. Move the hooks around on the workbench until the layout feels right, then start snapping. It sounds fussy, but it is the difference between a system and a mess.
Step 5: Hang the tools, then live with it for a week
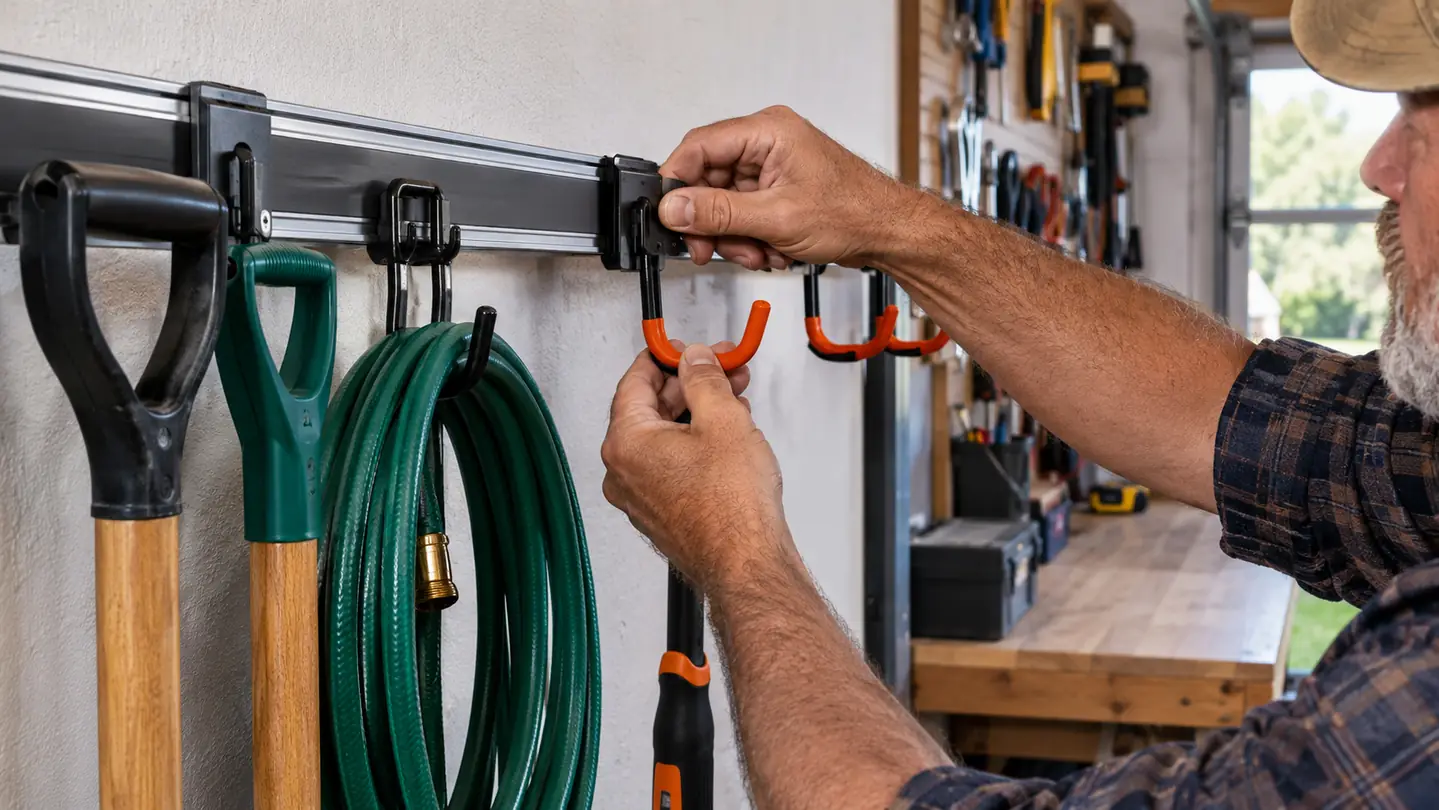
Snap the hooks into the rail. They lock in with a click and slide along the rail, so you can adjust the spacing without unscrewing anything. That sliding feature is the reason I picked the Rubbermaid FastTrack over a fixed pegboard. I moved the rake three times in the first week before I found the spot that felt natural. With pegboard, I would have been drilling new holes and moving pegs every time I changed my mind.
Hang the heaviest items first and check that the rail does not flex. Mine did not. The kit is rated for a serious load, and with the rails screwed into the studs, I never worried about it. Then hang the cords and the light stuff in the gaps. Step back and look at the wall from the doorway. If something looks wrong, fix it right then, because it will not look better tomorrow. And if a hook is in the wrong spot, slide it. That is the whole advantage of the rail.
Here is the honest part. I lived with the layout for a week and changed it twice. The leaf blower moved closer to the door. The hoe moved out to the shed because I only use it once a month. That is fine. The whole point of a rail system is that it is easy to change. If you glue everything in place on day one, you will be annoyed by day ten. Give yourself permission to rearrange, and the wall will settle into the layout that actually works for you.
What Else Helps
A few things made the wall work better than the rails alone. A magnetic strip holds screwdrivers and pliers near the bench, so the small stuff has a home that is not a drawer. A small shelf above the rail catches the spray cans and the oil bottles that do not hang. And I put a cheap rubber mat on the floor under the wall, because a little dirt still falls off the tools. The mat wipes clean and the floor stays presentable. None of these cost much, and they all make the wall more useful.
Also, label the cords. I bought a pack of colored zip ties and put one color on the extension cord and another on the rope. When you need the 50-foot cord, you can grab it without uncoiling every cord on the wall. That is the kind of small thing that makes a system feel good a year later. The rails are the backbone, but the little habits are what keep the wall from turning back into a pile. Organize it once, and it stays organized because everything has a place.
The whole point of a rail system is that it is easy to change. If you glue everything in place on day one, you will be annoyed by day ten.
Get your tools off the floor this weekend
The Rubbermaid FastTrack All-in-One Rail & Hook Kit is the fastest way to reclaim a garage wall. See today's price on Amazon and check the hook selection before you buy, so you know what you are working with.
Amazon Check Today's Price on Amazon →