
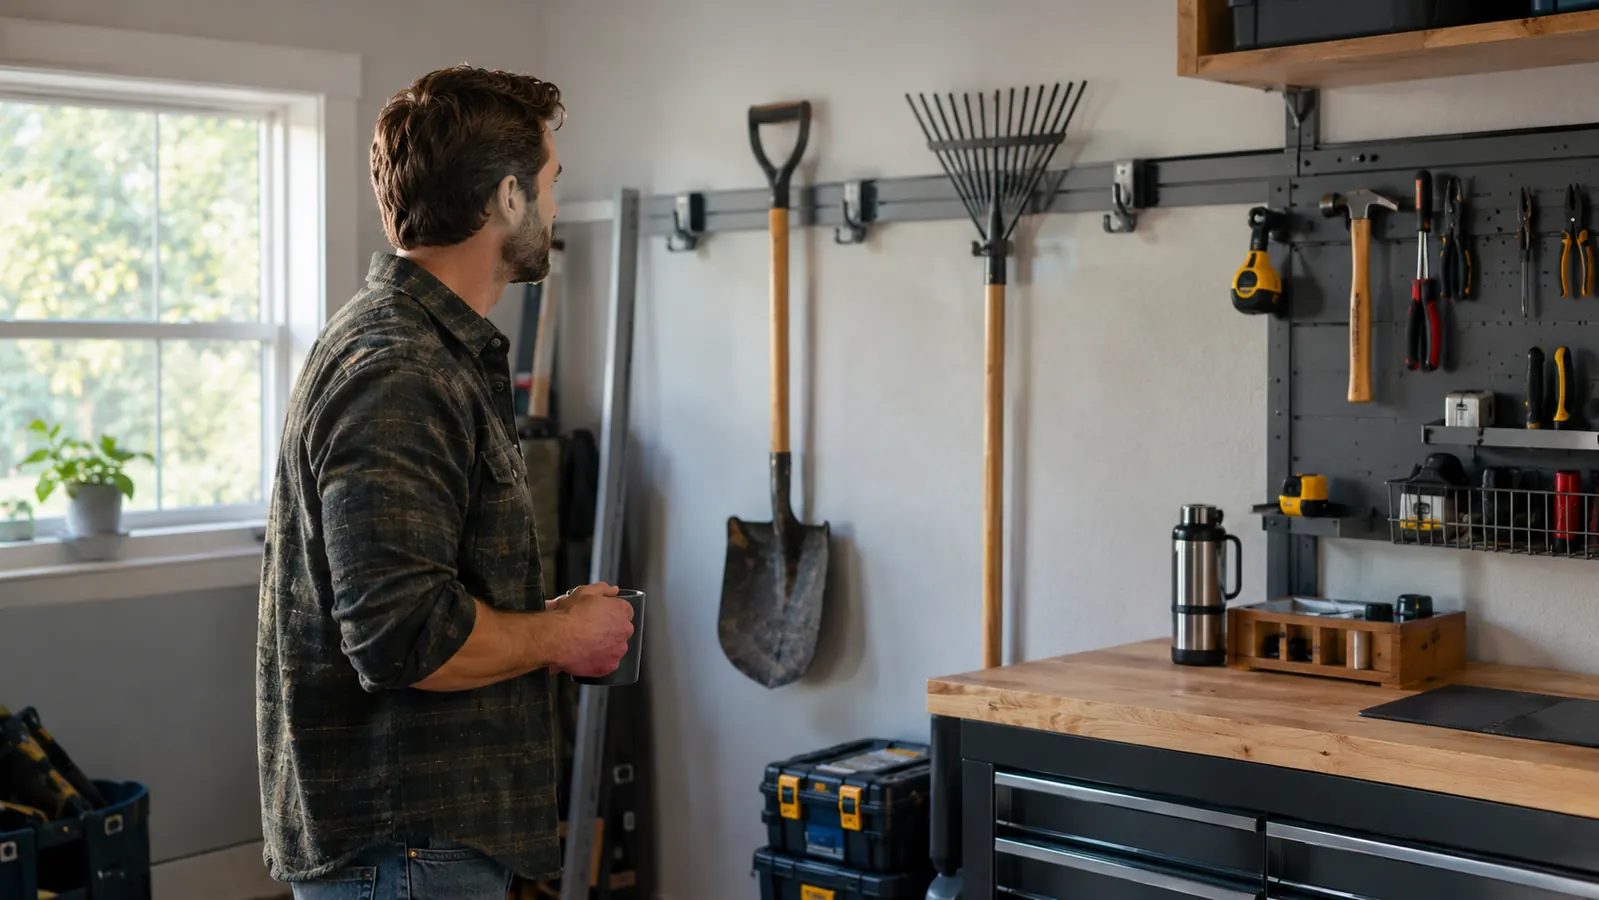
I tripped over a rake handle in my own garage and sprained my wrist. I was sixty years old, it was a Tuesday, and I was carrying a box of canning jars out to Carol's car. My foot caught the rake, I went down sideways, and the wrist took six weeks to feel right again. The rake was leaning against the wall next to the workbench, exactly where I had left it, because that was where long-handled tools went in my garage. They leaned. They fell over. Sometimes they waited for me to forget they were there, and then they fell on the car.
The Rubbermaid FastTrack rail kit is what I hung to fix that problem. I put the first rail in the garage workshop bay, and I liked it well enough to add a second rail in the shed. Ten months later, no tool has hit the floor since the day I finished the install. This review covers how I set it up, the mistakes I made along the way, and whether it is worth doing the same on your wall.
The Quick Verdict
The Rubbermaid FastTrack rail kit got every long-handled tool off my garage floor and kept it there for ten months. Install is a straightforward stud-finding job, the hooks lock in place, and the steel rail has not sagged or rusted. I would buy it again, and I did buy a second rail for the shed.
Amazon Check Today's Price →The rail that finally got my tools off the floor
I hung this kit one Saturday morning, and I have not picked a shovel up off the concrete since. If your garage has the same leaning-tool problem mine did, this is the fix that worked for me.
Amazon Check Today's Price on Amazon →How I've Used It
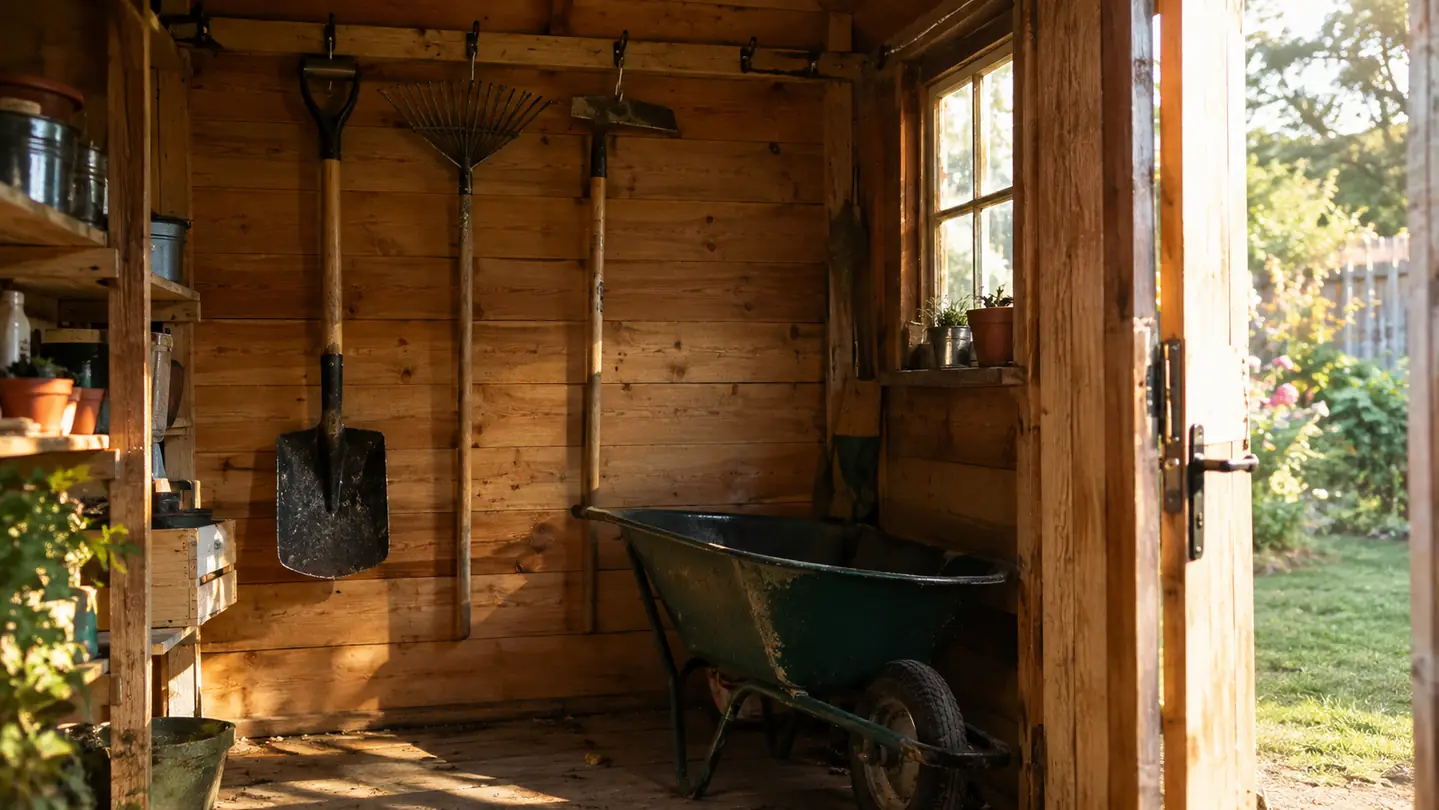
The garage is a standard two-car attached. We park one car in it, and the other bay is my workshop side. There is a workbench along the back wall, a shelf unit on the left, and, until last spring, a collection of tools leaning in the corner by the door. The shed is an 8x10 wood building at the back of the lot. It holds the tiller, the wheelbarrow, and most of the garden tools in the summer.
I hung the first FastTrack rail on the workshop wall, about forty-eight inches off the floor. That height puts a shovel hanging handle-up with its blade just off the concrete, which is exactly what I wanted. The long-handled stuff went there: rake, shovel, hoe, broom, and a post-hole digger that had been leaning in the corner for years. It sounds like a small thing, but walking into the garage and not seeing a single handle resting on the floor changed how the whole room felt.
The shed got a second rail. I bought an extra rail and a few more of the long tool holders, because the kit's mix of hooks is a starting point, not the whole answer. In the shed I hang the digging tools, the leaf rake, and the loppers. Carol hangs the hand tools on the smaller hooks. The rule I set was simple: if it has a handle, it hangs. Nothing rests on the floor. That was the whole point of the project.
The daily routine is part of why this works. When I finish in the garden, I hose the mud off the shovel, let it dry, and hang it back up. It takes ten seconds. Before the rail, the shovel would lean against the shed wall until it fell, and then it would lie on the floor until I needed it again. The rail makes the right habit the easy habit, which is the only kind of habit that sticks with me.
What the FastTrack Is and How the Hooks Work
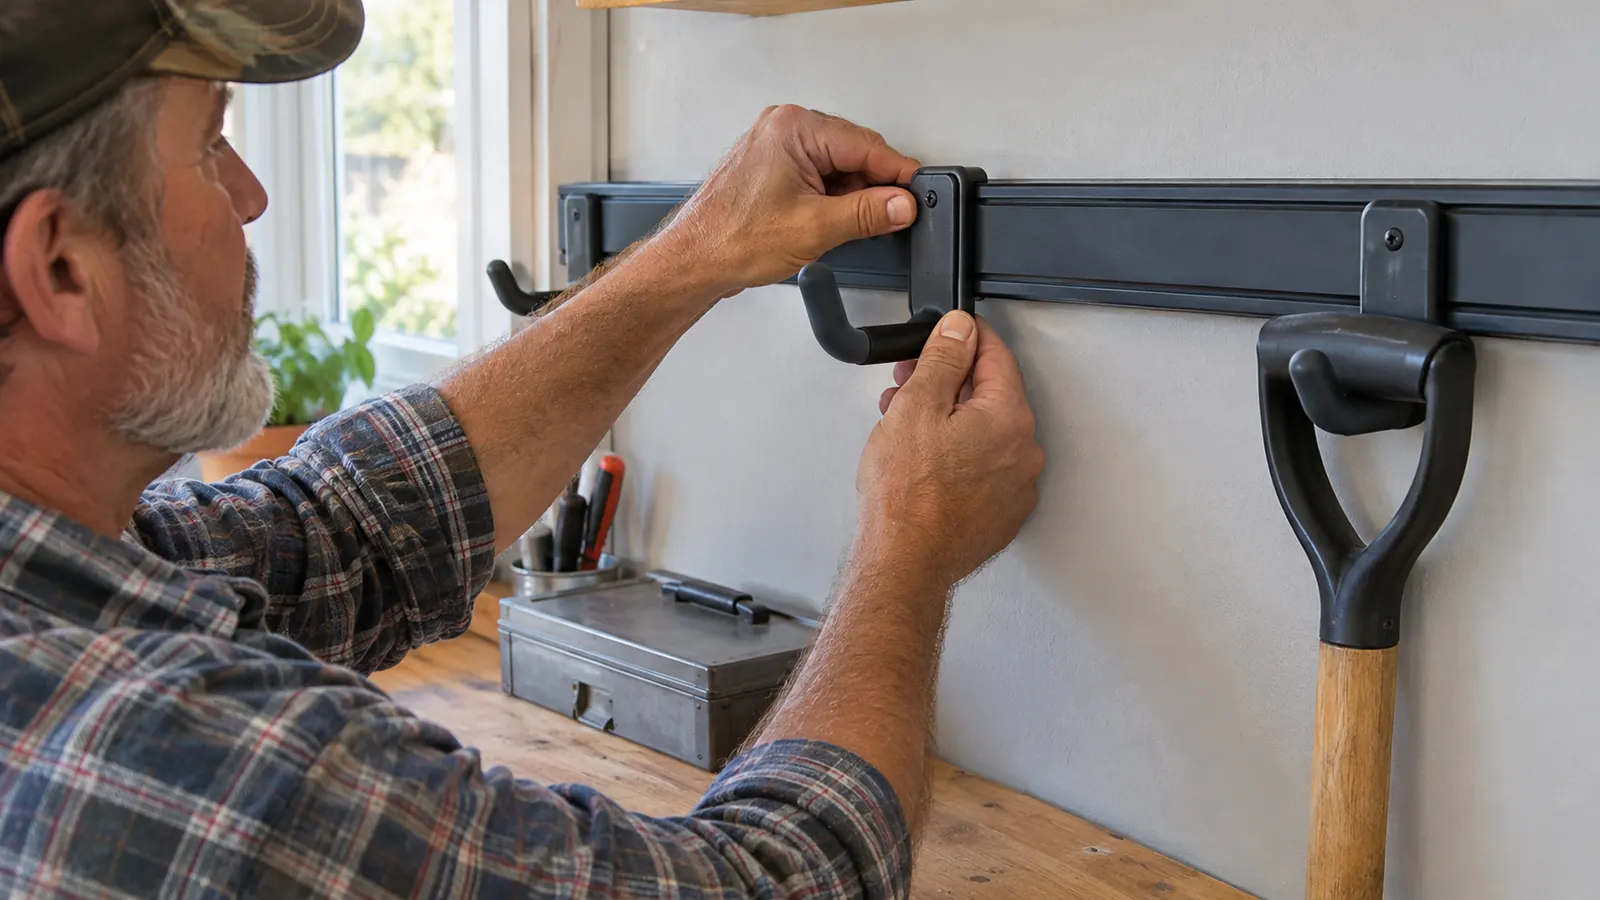
The Rubbermaid FastTrack system is a steel rail that screws into wall studs. The hooks snap onto the rail and lock in place with a small tab. To move a hook, you push the tab and slide it along the rail. It is simple enough that I only read the instructions once, and I am not the kind of person who enjoys reading instructions.
The all-in-one kit comes with a rail and a mix of hooks and holders. The utility hooks are good for coiled extension cords, a hose, or a folded ladder. The long tool holders are the ones that matter for garden tools. You drop the handle in, and the tool hangs straight down with the head off the floor and the handle off the wall. That last part matters more than people think. A tool that leans against the wall with its handle touching the drywall will eventually leave a mark, and it will eventually fall.
The critical detail is the studs. The rail has to be screwed into wood studs or solid framing, not just drywall. I found my studs with a cheap magnetic stud finder and marked them with a pencil. On the shed wall it was even easier, because the framing is exposed in a wood building. If you have ever hung a cabinet, you already know how to do this.
Capacity is worth planning for. A single rail holds a surprising amount, but it is not infinite. I fit a rake, a shovel, a hoe, a broom, a post-hole digger, and two extension cords on the garage rail before it started to feel full. When that happened, I did not cram more on. I bought a second rail for the shed. The system is designed to grow, and it is cheaper to add a rail than to replace the whole setup.
Why I Left the Pegboard Behind
Before the FastTrack, I had a four-by-eight sheet of pegboard over the workbench. It was fine for hammers and screwdrivers, but it was never right for long tools. A rake hung on pegboard hooks swings when you brush past it, and the hooks pop out of the holes when you pull the tool off at an angle. I lost count of how many times I picked a shovel up off the floor.
The Rubbermaid FastTrack solved the specific thing the pegboard could not. The hooks lock onto the rail, so a tool cannot knock them loose. The long tool holders grip the handle, so the tool hangs straight and steady. I still have the pegboard up for small hand tools. The two systems do different jobs, and they do not compete. If I had to pick one for a garage wall, it would be the rail.
Installing It: What I Got Wrong the First Time
My first mistake was trusting my eye instead of a level. I hung the rail, stepped back, and it was a quarter inch low on the left. It worked fine, but it bothered me every time I looked at it, so I took it down, filled the screw holes with wood putty, and redid it. Use a level the first time. It saves you an hour of rework.
My second mistake was putting the rail too high. I hung it at a height that felt right for me and forgot that Carol uses the shed too. When she had to stretch for the top hooks, I moved the shed rail down four inches. If more than one person will use the wall, hang the rail for the shorter person. It is easier to move it before you fill the wall with tools than after.
The actual install took about an hour and a half for the first rail. That includes finding studs, drilling pilot holes, and mounting the rail. The hooks snap on in seconds. The second rail in the shed took under an hour because I had the routine down. I used a cordless drill, a level, a stud finder, and a pencil. No special tools, no tricks.
How It's Held Up Over Months of Use
Ten months in, the rail has not moved. The screws are still tight, the rail has not sagged in the middle, and the hooks have not popped off. I have loaded it with wet shovels, muddy rakes, and a heavy post-hole digger. Nothing has come down. That is the whole test, and it passed.
The locking tab is the difference. On the pegboard, a bump would knock a hook loose and the tool would swing and fall. With the FastTrack, the hook is locked to the rail. I have brushed past it with a ladder, backed into it with the wheelbarrow, and once hit it with the edge of a sheet of plywood. Nothing moved. The tools stayed where I put them.
The finish has held up too. The garage is not climate controlled, so the rail sees Nebraska heat in July and cold in January, plus the humidity that comes with both. After ten months it still looks the way it did the day I hung it. No rust, no peeling, no fading that I can see. That was the thing I was least sure about, and it turned out to be a non-issue.
There was one moment I was sure had broken something. I was carrying a sheet of plywood through the garage and the edge caught the post-hole digger on the rail. The digger swung hard and hit the wall. I checked the hook, expecting it to have popped off. It had not. The tab held, and the digger was back in place in two seconds. That is the moment I stopped worrying about the system.
What I'd Change or Buy Differently
The kit's hook selection is the weakest part. It gives you a sample of what the system can do, but I needed more of the long tool holders than the kit included, so I ordered extras. If you know you have a lot of long-handled tools, budget for additional holders from the start. I would rather the kit came with four long holders and fewer utility hooks.
The other honest limit is the wall itself. The rail needs studs. If you have a metal stud wall, a hollow block wall, or a wall with no solid backing, this is not the system for you. And once the rail is up, moving it means patching screw holes. It is not a temporary solution. That is fine with me, because I did not want a temporary solution. I wanted the rake off the floor permanently.
One more small thing: the hooks are easy to move, which means you will reorganize more than you expect. I moved the broom three times in the first month before it landed in the spot that made sense. That is a feature, not a complaint. It means the wall can change as your tools change.
What I Liked
- Hooks lock onto the rail, so brushing past them does not knock tools loose
- Long tool holders keep handles up and heads off the floor
- Install is a straightforward stud-finding job, about an hour and a half for the first rail
- Steel rail has held up through a Nebraska year of heat, cold, and humidity
- You can add rails and hooks over time as the wall fills up
Where It Falls Short
- The kit includes only a couple of long tool holders, so I ordered more right away
- It needs wood studs or solid framing, so drywall-only walls are out
- Moving it later means patching screw holes
- Matching the right hook to each tool takes some trial and error
Ten months later, the rail has not moved a quarter of an inch, and not one tool has hit the floor since the day I hung it.
Who This Is For
This is for anyone whose garage floor is a collection of leaning tools. If you have a rake, a shovel, a hoe, a broom, and a post-hole digger propped against the wall, and you have tripped over one of them or watched one fall on the car, this system fixes that specific problem. It is also for people who like a system that grows. You start with one rail, and you add another when you find more things to hang. That is exactly what I did, and it is why the garage and the shed both have one now.
Who Should Skip It
Skip it if you cannot screw into studs. Renters who cannot put holes in the wall, or anyone with a metal stud wall, should look at freestanding racks instead. Skip it if you mostly store small parts and hand tools. The rail shines with long and bulky items, and a cabinet or a set of bins will serve you better. And skip it if you want something temporary. The rail is meant to go up once and stay up. If you are not ready to commit a wall to it, this is not the product for you.
For me, the trade was simple. I gave up a little wall space and an afternoon of work, and I got a garage where I do not have to watch my feet. Ten months later, I would make the same trade again.
Hang it once and stop tripping over rakes
Ten months after I hung my first Rubbermaid FastTrack rail, it still looks and works like the day I put it up. If your garage has the same problem mine did, this is the fix that worked for me. Check the current price on Amazon and see if it fits your wall.
Amazon Check Today's Price on Amazon →