

The rake handle that cost me a sprained wrist is the reason this article exists. I'm Walt Hensley, 61, a retired building maintenance supervisor, and I keep a two-car garage outside Omaha with a workshop in one bay and an 8x10 wood shed at the back of the lot for the garden tools. For years those tools just leaned in the shed corner: rakes, shovels, hoes, a post-hole digger, a pole pruner. Every time I reached past them, one slid. The morning I stepped on a rake tine and went down hard, I decided the floor was done holding tools.
I tried the usual fixes first. A pegboard held the small stuff but not long handles. A five-gallon bucket collected the handles but they still tangled. A nail in the wall held one shovel until the nail bent. What finally worked was the TVKB 68-inch all-metal wall-mount garden tool organizer, and it worked because it holds each tool by the handle with the weight against the wall. This guide is the five-step method I used to mount it, in the order that worked for me, including the two mistakes that cost me a remount.
Get every long handle off the floor this weekend
The TVKB 68-inch steel organizer holds rakes, shovels, hoes, and brooms against the wall, out of the way and out from underfoot. Check today's price on Amazon.
Amazon Check Today's Price on Amazon →Why the wall beats the floor
A tool on the floor is a tool you have to step over, trip on, or dig out from under something else. A tool on the wall is a tool you can see, grab, and put back in three seconds. That sounds like a small difference until you have done both for a season. The wall also keeps the handles dry, which matters in an unheated shed where damp wood invites rot and rust.
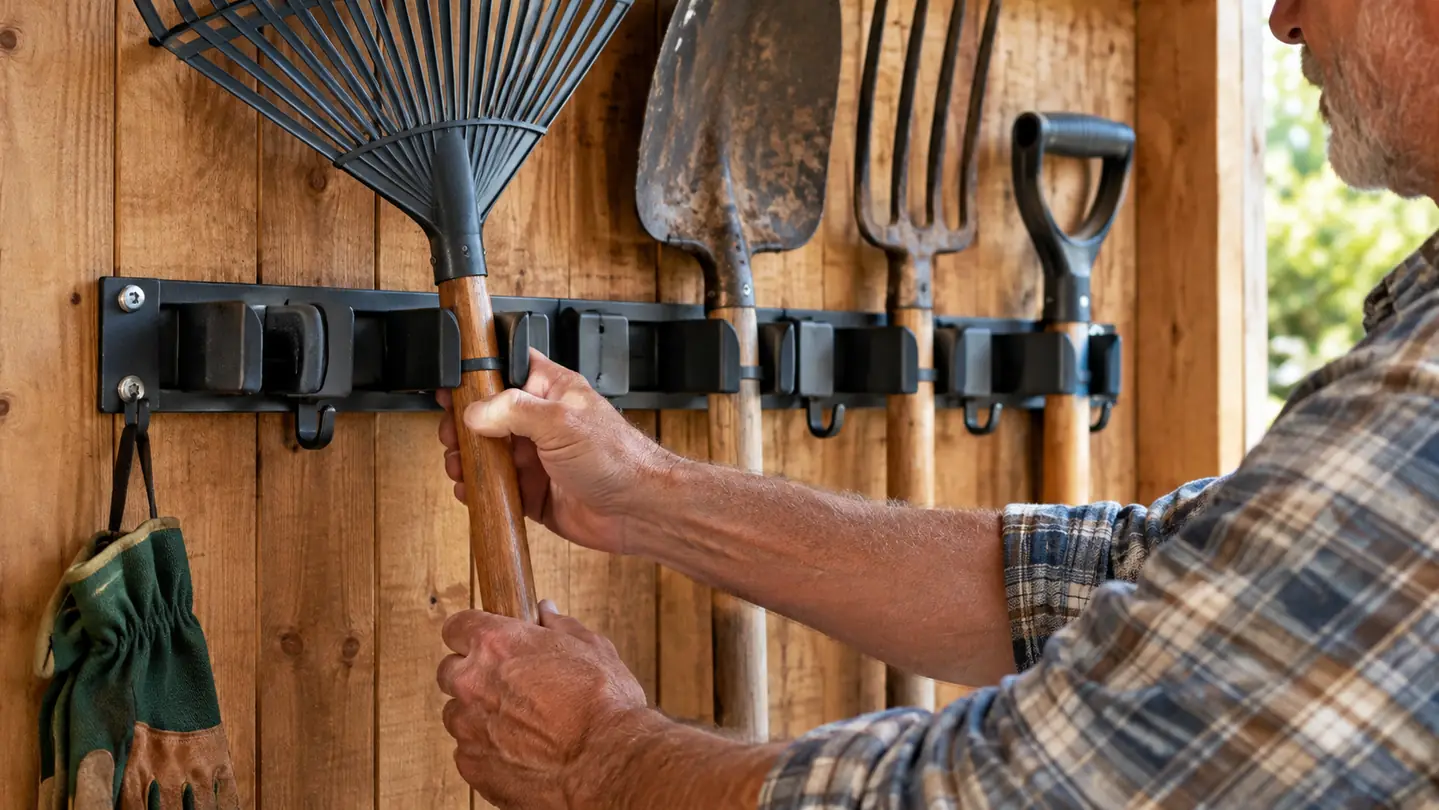
The TVKB organizer is a 68-inch all-metal rack. You slide the handle of each tool down into the rack, and the tool hangs head-down against the wall. Because it is all metal, it does not sag the way a plastic organizer will under a load of wet shovels. Because it is adjustable, you can move the holding positions when your tool collection changes, which mine did twice in the first month.
Step 1: Pick the wall and mark the studs
Choose the wall before you choose the height. I used the back wall of the shed because it is the first thing I see when I walk in with a muddy shovel. The same rack works on a garage wall if that is where you keep your tools. The rule is simple: the rack goes where your hand goes when you are done working, not where it looks best from the driveway.
Then find the studs. I ran a stud finder over the wall and marked every center with a short pencil line. On the shed that was easy, wood studs behind the plywood. In the garage it is drywall over studs, same deal. Do not skip this step. My first attempt used drywall anchors in the garage, and a load of wet shovels pulled the whole thing out of the wall inside a week. The TVKB rack is all metal and built to hold a lot of weight. It needs studs, not anchors.
Draw a level line at your mounting height before you drill. I mounted the rack so the tools hang from 66 inches off the floor. My longest tool is a 70-inch pole pruner, and with the handle seated in the rack, the head hangs about 6 inches clear of the floor. Measure your longest tool first, then add 6 inches. That number is your mounting height. If you only own standard 60-inch rakes and shovels, mount the rack closer to 60 inches and the heads will still clear.
Step 2: Lay out the tools before you drill anything
Gather every long handle you own and lay them on the floor in the order you want them on the wall. I had 14: three rakes, two shovels, a spade, two hoes, a post-hole digger, a pole pruner, a broom, a snow shovel, and an edger. It sounds like a lot, but a 68-inch rack with the tools spaced 4 to 6 inches apart swallows all of them and still has room for one more.
Put the tools you grab every day in the middle of the rack, at arm height, and the seasonal tools at the ends. The rake and the hoe go where my hand lands first. The snow shovel goes at the far end because I only need it a few months a year. I marked each position on the wall with a pencil before I drilled. That layout step is what kept me from remounting the rack twice.
The layout also showed me which tools had handles too thick for the rack. Every one of mine fit, but check the diameter of a fiberglass handle before you count on it. If you have a tool with a fat grip, give it a spot near the end of the rack where it will not crowd the neighbors. And if two heads tangle on the floor, they will tangle on the wall, so swap the order before you drill, not after.
Step 3: Drill, mount, and level the rack
Use the right bit for the wall. On the shed I drilled 1/8-inch pilot holes into the studs and drove the screws that came with the rack. In the garage, use a 3/16-inch bit for the anchors, then the screws. The rack comes with the mounting hardware, so you do not need to guess at sizes. Just make sure the screws are long enough to bite at least an inch into the stud.
Mount the rack loosely, put a level on it, and then tighten. My mistake was cranking one end down before I checked the other, and the rack sat a quarter inch low on one side. That does not sound like much, but tools started sliding toward the low end every time I closed the shed door. I loosened it, leveled it, and tightened from the center out.
Have a second pair of hands hold the rack while you drive the first screw. Carol held mine, but two spring clamps work just as well. Drive the center screw first, check the level again, then work outward. If your wall is out of true, like the back wall of my shed is, split the difference so the rack looks level even if the wall does not.
Step 4: Seat every tool handle-first and test the load
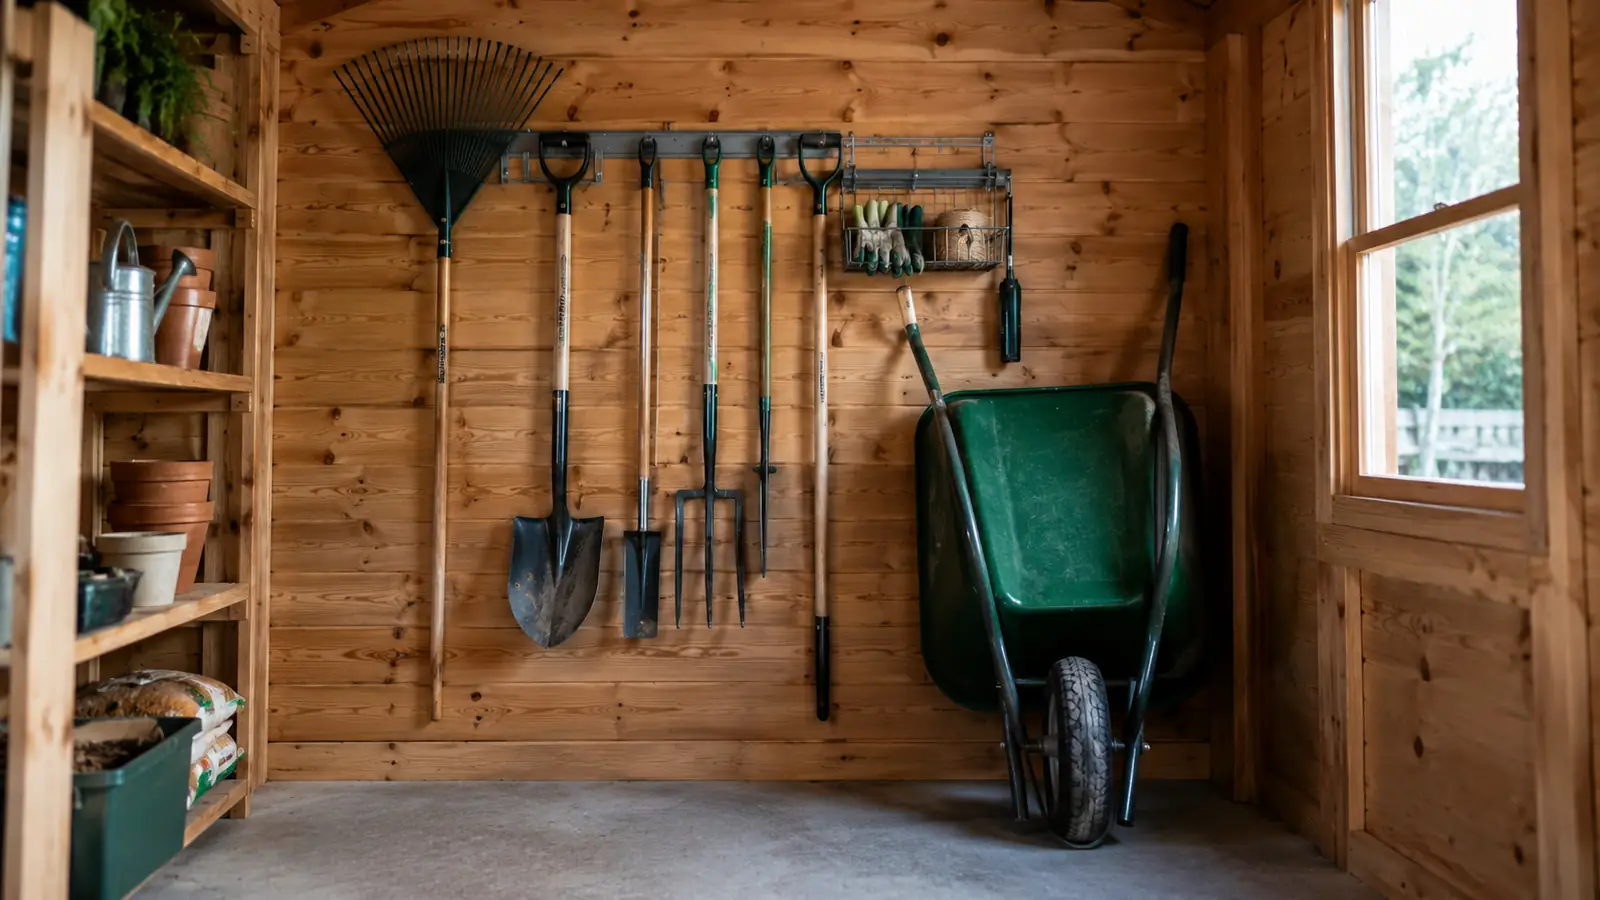
Slide each handle down into the rack, handle first, head down, and push until it seats. Then step back and look. Do the heads clear the floor? Do any two heads tangle? Is the weight spread across the rack? I hung the heaviest tools, the post-hole digger and the steel spade, closest to the studs, and the lighter rakes toward the ends.
Give every tool a tug after you hang it. If it drops, the handle is not seated in the rack. I also turned the wide heads so they alternate, tines out, tines in, so they do not clang together when the shed door slams. Tools with rubber grips go in grip-end up, so the grip is what you grab on the way out, not the bare fiberglass.
Test the whole load at once, not one tool at a time. Hang everything, then close the door and open it again a few times. The vibration from a slamming door is what shakes a loose tool off the rack. If anything moves, reseat it and check that the screw holding that section of the rack is still tight.
Step 5: Build the return habit and check it monthly
The rack only works if the tools go back on it. Mounting it right inside the shed door made the return trip three steps, which is short enough that even I do it every time. The adjustable rack means you can move things around when you add a new tool; I added a trenching shovel and a second edger without drilling a single new hole.
Once a month I spend ten minutes on it: tighten any screw that moved, wipe the handles, and make sure nothing is bent. That is the whole maintenance routine, and it has held up through a full Nebraska season of use, including the muddy spring and the heavy snow shoveling last winter.
The habit part matters more than the hardware. I hung a small note on the inside of the shed door for the first two weeks: 'Wall, not floor.' It sounds silly, but it broke the old habit of dropping the shovel where I stood. Now the note is gone and the tools still go back on the rack.
What Else Helps
A few things made the system work better than the rack alone. A narrow shelf above the rack holds gloves, pruners, and seed packets. A rubber mat below the rack catches the dirt and moisture that drip off damp tools, and it keeps the heads from dinging the concrete. I also clean the handles before hanging them; a muddy handle builds up in the rack and gets sticky over a season.
If you do not have a shed wall, the garage wall works exactly the same way, as long as you hit the studs. And if your collection is smaller than mine, the rack still earns its space because it keeps the tools off the floor where a rake handle cannot roll underfoot. That is the whole point, and it is the reason I put one up in the first place.
One more thing: give the rack a little breathing room. I left about 18 inches of clear floor below the rack so a wheelbarrow can roll past without catching a shovel head. And I hung it where the shed's single window throws light on it, so I can see which tool is which without a flashlight at dusk.
Six months in, the rack still holds all 14 tools, and the only thing that has hit the shed floor since is a pair of gloves.
The Mistakes I Made So You Do Not Have To
I made three mistakes mounting this rack, and all three were avoidable. First, I trusted drywall anchors in the garage instead of finding the studs. The rack came down with a full load of wet shovels a week later. Second, I tightened one end of the rack before leveling it, and the quarter-inch slope sent every tool sliding to one side. Third, I hung the tools in the order I grabbed them from the pile, which meant the two widest heads clanged every time the door moved.
All three took less than an hour to fix once I knew what I was doing. Find the studs, level the rack, and lay out the tools before you drill. If you do those three things, you will mount this rack once and never think about it again. That is the goal: a tool wall you install, load, and forget.
Put your long handles where they belong
One 68-inch organizer, five steps, and every rake, shovel, and hoe off the floor for good. Check today's price on Amazon.
Amazon Check Today's Price on Amazon →